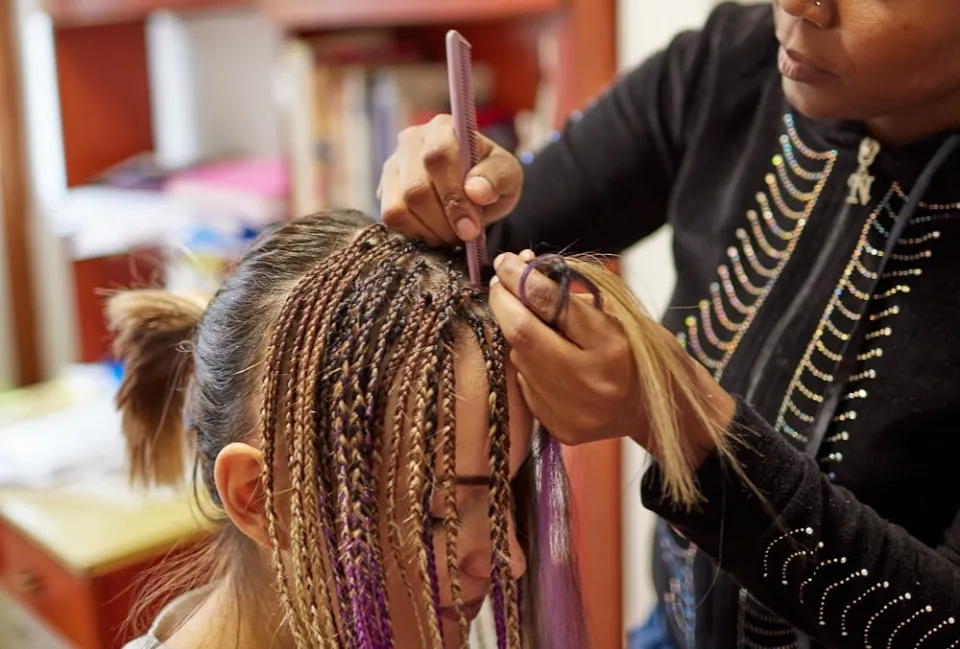
Wondering how to do box braids? It is appropriate that you are here.
A black girl’s best friend is protective hair styling. While there are a handful of protective styles, box braids have rained true to be one of the most popular.
Following our step-by-step tutorial will have your hair looking gorgeous in no time, despite this trendy look appearing to be difficult.
How to Prep Your Hair for Box Braids?
If you’re thinking of getting box braids, there are a few things you should do to prep your hair before installation.
Prior to braiding, make sure that your hair has been shampooed, detangled, deep-conditioned, and trimmed.
Before putting your hair into a long-term style like braids, this will guarantee that it is healthy and moisturized.
It’s always best to start with clean hair because box braids can last for up to two months and you can’t completely remove dirt and buildup from your hair or scalp.
Read More:
How to Do Box Braids at Home?
Doing your own box braids is as simple as following the steps below. Be patient because longer, skinnier braids can take several hours to complete. Nevertheless, creating a stunning braided hairstyle is a simple procedure.
Step 1. Cleanse and Condition
Start by shampooing your hair and using plenty of conditioner. You’ll want to keep your hair as hydrated as you can because box braids last longer than most hairstyles.
Launder your hair. Wash your hair the day before you start braiding it if you are worried about time.
Read More: Do Box Braids Damage Hair?
Step 2. Detangle
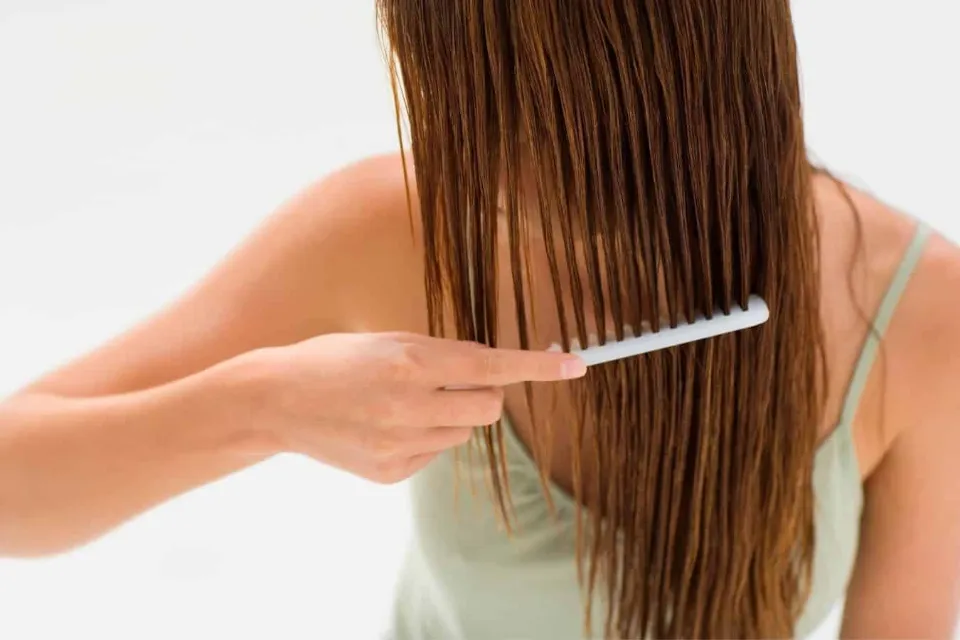
Apply a wide-tooth comb to your wet hair to detangle it. Let your strands air dry if you have hair with a texture that doesn’t tangle frequently.
Blow drying your hair is acceptable if you want to hasten the drying process, but be sure to protect your hair from harm by applying a heat protectant first.
Step 3. Separate Your Hair into Sections

In order to make braiding more manageable and less intimidating, divide your hair into four sections using your comb.
For more information, read our posts on How to Part Hair for Box Braids.
Step 4. Minimize Frizz
To the lengths of your hair, apply a small amount of leave-in conditioner or the L’Oréal Paris Elvive Dream Lengths Frizz Killer Serum Leave-In. Your strands can be kept hydrated, frizz-free, and protected with just a small amount of product.
Three of the four sections you previously made should be pinned back with a hair clip or hair tie so they are out of the way when you start to braid.
Step 5. Create Your Single Braids
The time to choose whether you’re going to do traditional box parts or another dynamic shape, like triangles or something with a zigzag, is when you’re making the one-inch by one-inch part that you’ll divide into three pieces and braid.
Take some braiding hair that is about an inch thick, divide it in two, and add a loop at the top. Start braiding that piece of hair around the inch of your natural hair, gradually blending the two braiding hair parts into your natural hair.
Use a piece that is two inches long to make larger braids. When braiding, keep things tight but not too tight — you don’t want to damage the hair in any way
Step 6. Lock Your Look in Place
You’re about to learn where a lighter fits into this style if you were unsure. First, add a dollop of L’Oréal Paris Advanced Hairstyle CURVE IT Elastic Curl Mousse to each of your finished braids, about the size of an egg.
When the hair is completely dry, gently wave the lighter up and down the ends of each individual braid.
You can seal in the braids by burning the synthetic braiding hair, which will help you maintain your box braids for the next few weeks.
Here is a video about how to do box braids:
Tips to Do Box Braids
Don’t braid your hair too tightly. You don’t want to lose any of your hair or inflict any damage on it. It should be styled firmly but not too firmly.
Another suggestion is to use a silk scarf to keep your hair extra tidy while you braid it or even after the style is finished!
Enjoy a style that doesn’t require rubber bands at the ends, but if you’d rather have them, you can buy them from a beauty supply shop.
Have fun making your box braids, and if you decide to try this look, send us a picture!
Read More: How to Do Bohemian Box Braids?
Is It Better to Box Braid Your Hair Wet Or Dry?
Before we begin this tutorial, we want to address a common query that has a not-so-obvious solution. You may be sitting in front of your vanity with a head full of damp hair wondering if you can start your box braids now, but we warn against braiding wet hair.
Box braiding wet hair can result in tangles as well as unneeded weight being added to the braids (and the longer your braids are, the heavier they’ll already be). When you take your braids down at the end of their run, breaking hair is most likely to occur when your hair is tangled when you are braiding it.
Furthermore, braiding wet hair can overstress your scalp and lead to breakage once more.
You Might Also Like:
Final Thoughts: How to Do Box Braids
Learning how to do box braids is an excellent skill to have, especially for those with natural hair or for those who want to switch up their look.
A variety of braiding materials, including synthetic and natural hair, can be used to create box braids.
Beginners should practice simple box braids on their own hair to become familiar with the technique.
Read More:
- Knotless Braids Vs Box Braids
- How to Do Bubble Braids?
- How to Do Fishtail Braids?
- How to Do Waterfall Braids?
- Are Box Braids Cultural Appropriation?
FAQs
How Long Does It Take a Beginner to Do Box Braids?
On average, it can take you anywhere from 4 to 8 hours to do box braids with added extensions.
Do Box Braids Hurt for the First Time?
Usually, it can take 1 to 2 days before you find relief with tightly braided styles.
Can You Leave Box Braids in for 3 Months?
You should never keep braids for longer than eight weeks. If you let it go past that point, your newly grown hair will stretch, become damaged, and eventually break, causing serious harm to your hair.


